Followers

Sunday 12 June 2016

A Tribute to Sandie Gough

Its with deep sadness as i type this . One of our amazing Design Team member Sandie Gough passed away this week . We are heartbroken and devastated at this news 
Sandie can only be described  as amazing , She had a loyal nature and always made us smile , 
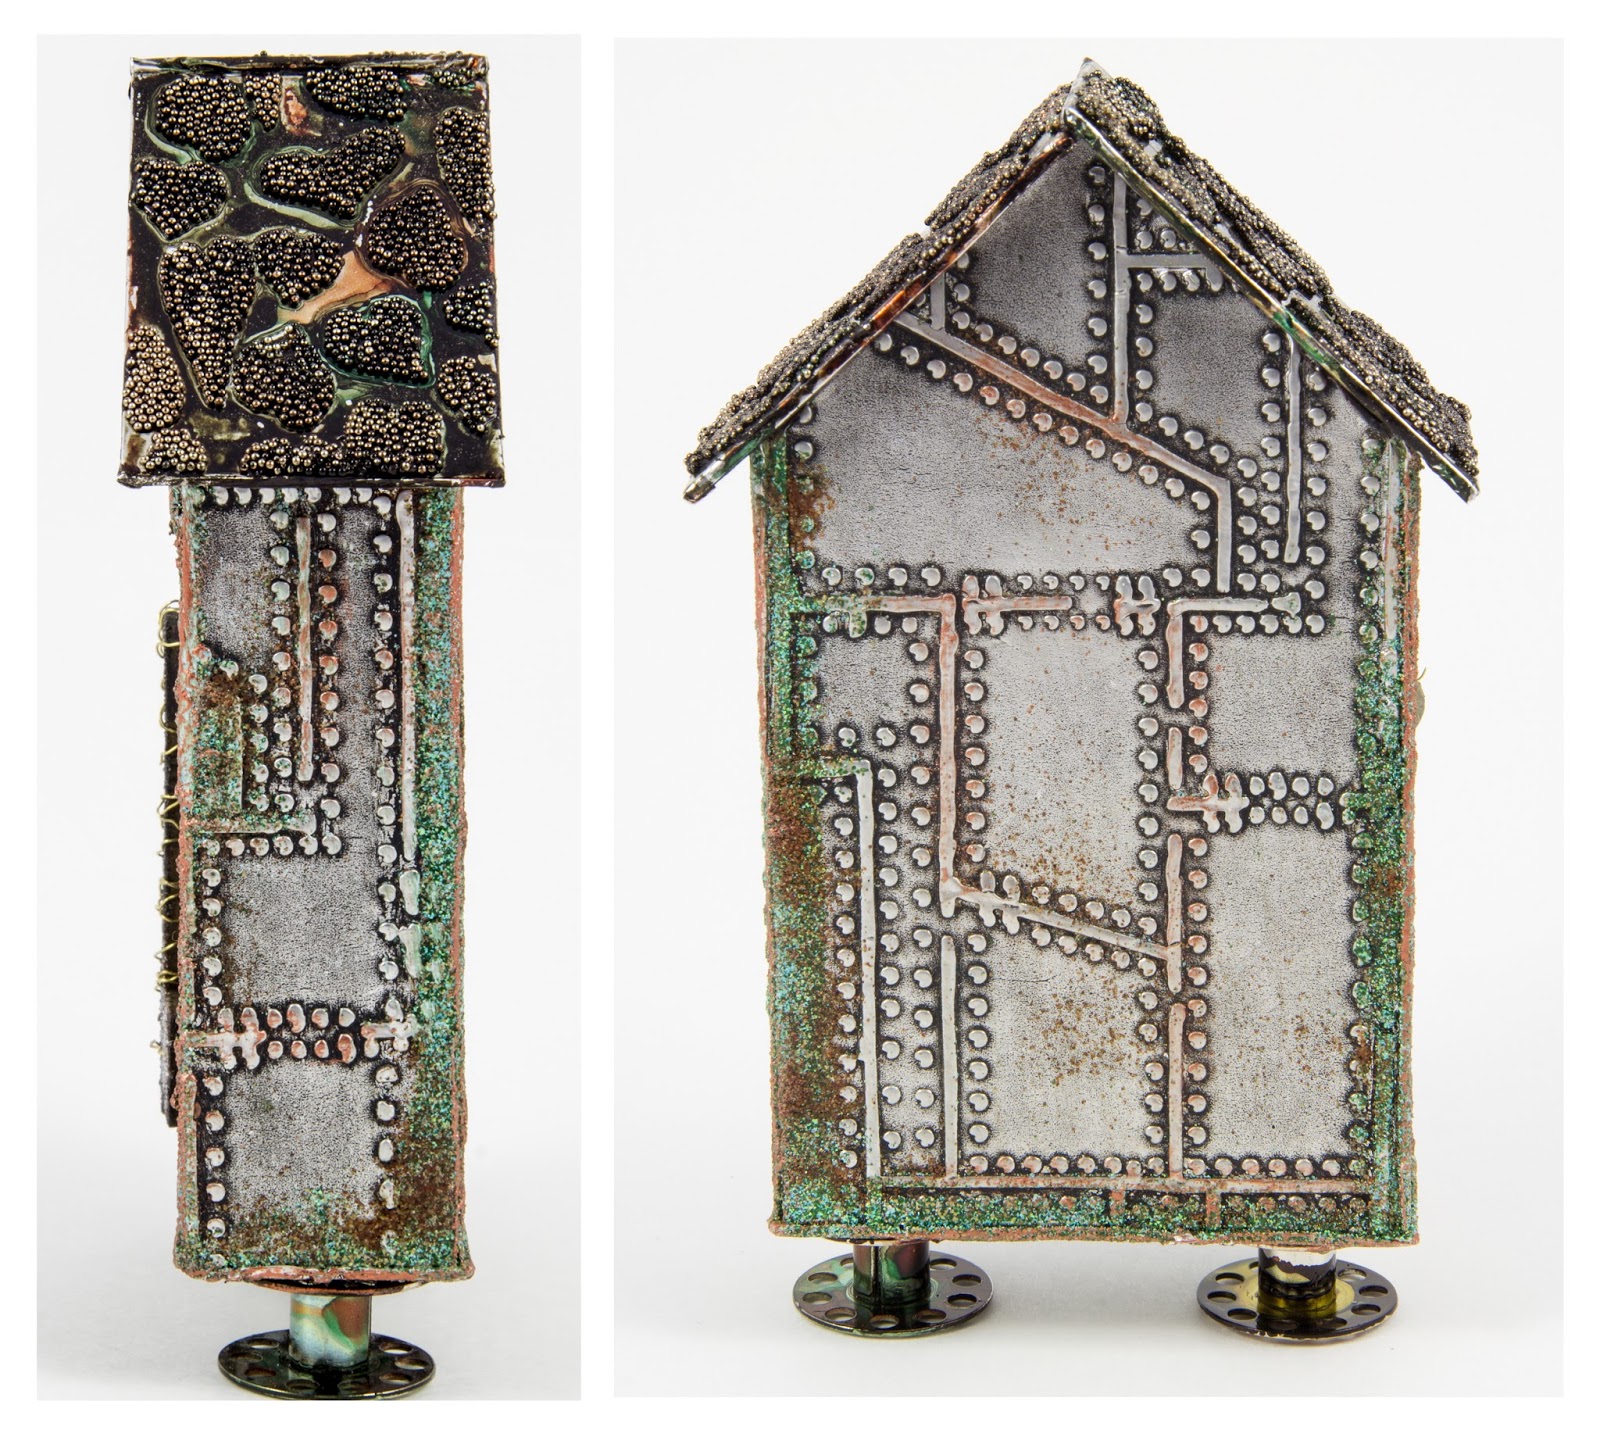
We have decided to share some of Sandie's creations , with a few words from the rest of the DT 


Our sincere and deepest condolences go out to Sandie’s family. We are thinking of you at this most difficult time.


DT Lisa 


It is with a heavy heart I sit here and write about one of the most beautiful people in the crafting world.


Sandie was a beautiful lady, inside and out. She was beyond compare in the crafting world and I will miss her. The last thing she said to me was that she would never leave me, and always be around to support me. I kinda lost it a bit when i re-read this the other day, but upon thinking, I know she will always be there, sitting on her craft cloud inspiring me from heaven. Her designs are around me, from the gorgeous fish tank she created to the amazing Betty Boots samples she made for me.. I have some gorgeous makes from Sandie in my shop so her incredible talent will continue to inspire crafters, new and old, for a long time to come.
My thoughts are with her amazing family. I have no words to convey how I am feeling, let alone how they must feel....
The world has lost much of its colour right now, but I am hoping in time, this will return and I am able to smile at all the things that remind me of Sandie rather than make me cry.


DT Erin 
The craft world will never be the same without Sandie .. she always has
 a calming nature with me and i loved how loyal she was , My last words to her where 'Sup it up buttercup ' pretty much sums up how i adored 
this women , Sometimes you meet people in life who will always be part 
of your life and for me Sandie will always be that lady  ... R.I.P you 
beautiful women ...
This creation that Sandie made was out of this world and i adored her style 

DT Trudie 
Sandie made me this beautiful card last year for my 40th. I'm so lucky to have such a special reminder of how wonderful she was. Sandie was one of the kindest people I ever had the chance to know, although we never met in person there is a hole where she once was. Her talent was immeasurable and next time I see a rainbow I will know she has her pens out and is colouring away still!

DT Nicola 
 I love this one. I'm shocked, stunned and saddened that we've lost this fabulously talented, lovely kind lady. A truly beautiful spirit, like a butterfly now so beautiful and spreading her wings for her spirit to fly free. I felt inspired by her and I admired our friend Sandie xxx


DT Amanda 

 Still in shock here as so many of us are. all i can think to say was she 

was an amazing, talented and a great person and will be so missed by 

everyone who knew her and to use the Sugar Shrine which was a 

stunning piece of artworkxx


DT Lucy 
 I feel lucky to have been in a DT with Sandie. She was such an inspiring

 crafter - always coming out with amazing ideas & providing so much 

support and encouragement to others. So many of her creations had me 
sitting with my mouth open in awe. She'll be hugely missed xxx

DT Kay 

 i didnt know Sandie that well, but she was always so encoraging and 

supportive, and a great inspiration she will be missed and the craft 

community has lost a little bit of sparkle xx


DT Michelle 
 I was honoured to he on the same team as Sandie...she was an 

amazing crafter and it was her eye for detail that made her an 

inspiration to myself and so many others....she will be sadly missed by

 the whole crafting community xxx


Please hop on over to Sandie's blog to leave her some love 

Good Bye Sandie make sure your colouring up a storm up there 
Hugs from all the DT 

Sunday 10 April 2016

Winners Post for challenge 7

Wow what an amazing journey this has been and this is our  last challenge winner 
We have had and  amazing time and we want to thank you for being part of it ... 
And our Winner's are 
1st Chris you have 7 images 

2nd Rora you have 5 images 

3rd carol Gill you have 3 images 

Our Etsy store  please choose your images and send me an email at 
elfiedust@aol.com and please put in the subject That Craft Place winner 
the facebook shop is still open but the natter page will be closing down next week 


Sunday 3 April 2016

3rd of april winners post challenge 6#

Wow what an amazing last challenge that was 
And our Winner's from our 
6# - Challenge  


And Our Top 3 are 

Dont forget our latest challenge can be found here 

Links you need to know 

Saturday 2 April 2016

Angela's MDF Tutorial

It's  Angela  from Felix the Crafty Cat here and I have a Tutorial on how to make the Pram that you saw in the latest challenge and on Hochanda with Lisa.


This is how it arrived which is a bit scary!
 
 
So here we go!
Started with the main pieces for each side.

 
Sand the sections down a little to get a nice smooth surface and then seal with white Gesso.

 
The inside is then paint all over with Cosmic Shimmer, Matt Chalk Paint (Umber).

 
I used a sponge for this as it gives a better coverage than a brush.
 
 
 Next, turn the section over and paint the wheels, handle and edges.
Using screwed up tissue paper attach this with cosmic Shimmer glue to the hood. When this is dry the paint can be applied with a sponge or foam pad. I applied this a little at a time blending it together.
 
 
The same process is carried out with the other sections.


At this stage I applied the modelling paste through a Stencil (available at That Craft Place) and leave to dry thoroughly.

 
I then added the Turquoise (Pacific Teal) paint to the various sections as can be seen below and then a thin layer of the Cosmic Shimmer Crackle Glaze to the plain parts and allowed it to dry.
 

Once dry the black paint can be added and the Crackling will appear very quickly so it is important not to overwork the paint.


 The next step was to add more cogs which were cut from a TimHoltz die. You may notice that some of them have silver foil on them as they were left over from an earlier project but as I will be covering them with Gesso this is not a problem.

 
And so to the paint. I have to say that it does not look very promising at this stage but it will get better I promise Lol!
You may need a couple of coats for this to ensure a good coverage.
I wanted the wheels to look worn so I dry brushed the paint onto them leaving them patchy.

 
The next stage was to add the gilding flakes. Creative expressions stock a wide variety of colours and mixes but I used the pure silver for this. It is important to buff the gilding flakes thoroughly to get rid of any that is loose. It is possible to get special sponges for this or a soft brush will work too.
I also dry brushed black and silver paint onto the hood sections which I think gives a more balanced finish to the overall look.

 
I then decided that as this was a Steampunk Pram it needed some form of propulsion and wings seemed like the perfect thing.
These come in a set of three pairs in different sizes from That Craft Place.

 
Once these were completed I attached them to the hood of the pram.
Here you can see all the sections ready for assembly.
You will notice that I have also added some gears to the wheels too and some shiny studs along the centre to complete the design.
Also some lines of gilding on the hood.

 
When you put these together it is better to do one side and then the other as it is easier to push the end sections into the holes.
These are quite a firm fit so if you have too much paint on the tabs you may need to sand them a little.
To ensure the paint was fixed I added a thin layer of Cosmic Shimmer Clear Matt Finish Glaze.
 
And here she is all finished.
 
 
I have included a few  extra views so that you can get a good idea of what it looks like when completed.


 I hope you have enjoyed watching me make this.
If there is anything you need to know please ask and I will try to answer it.
I would love it if you could leave me a comment.

Thank you so much for stopping by.
 
 Happy crafting,
 
Angela x
 
All the mediums used here are available from That Craft Place.
Don't forget our latest challenge is HERE.

If you have enjoyed my posts here at That Craft Place I would love it if you pop over HERE to my blog and continue to follow me.

Links you need to know 

Wednesday 30 March 2016

Steampunk Shrine Tutorial by Julie Lavalette


Hi Everyone, it's Julie here today from Juliz Design Post and I am sadly sharing my last DT tutorial with you at present here at That Craft Place, as our challenge blog and Natter and chatter group are taking a long extended holiday.

Lisa sells the most beautiful MDF Shrines in different shapes along with great embellishments to add to them in Greyboard and MDF, so please check out her shop links at the end of my post as these will still be remaining open.

So let me take you through the process of my shrine.


These are all the sections that come in the kit to start the project, ( my finished shrine measures approx 2.5" x 4.5" ).


You will see I painted all my inside sections apart from the front of my house.


In this photo you will see I added on some heat embossed detail.


Next I made templates in greyboard so I could add a roof onto my house by simply drawing around my shapes. I also roughly worked out placement of embellishments although I changed a bit later on.


I covered my greyboard in Metal foil and ran through my embossing folder. 


I  added my paint and let it slightly dry before buffing back with a dry baby wipe.


I glued my greyboard onto the MDF and added on some rust effects to the edges.


I glued lace onto the front and painted it with Black Gesso.


I then blended in some Mica Powders for highlights with a little water over my lace.


I felt at this point the background was a little dark in my house so I gave it a wash with Titan Buff.


I mixed Bronze Micro Beads with some Matt Gel Medium and applied through my stencil onto my roof. Once this was dry I dripped Alcohol Inks over it.  


I love the look it gives almost like an Abalone Shell.


Side on and rear views were highlighted with Inka Golds at the embossed detail. My feet are sewing machine bobbins with some alcohol inks on them. 


I added alcohol ink onto my pearls for a more Industrial look and then glued them around the window opening.


I Rusted my cogs using Andy Skinner's Techniques.


A close up view of the inside showing the cogs in place. My hearts had a layer of Crackle paint and were sprayed with Tarnished Brass Spray Stain, I wiped them back and added a little Black Paint to the edges.


My key was heat embossed with various Embossing and Distress Powders, wrapping around with a little wire. 


I brought out more highlights in my lace using Viva Decor Inka Golds in coordinating shades.


A couple of finished photos. All products used in this post are available at the links below to the shop.

If you have enjoyed my posts at That Craft Place I'd love for you to pop over HERE to my blog to continue to follow me. My followers buttons are down my sidebar and I look forward to following your blog too.


Crafty Hugs,

Julie x
Links you need to know.

01 09 10